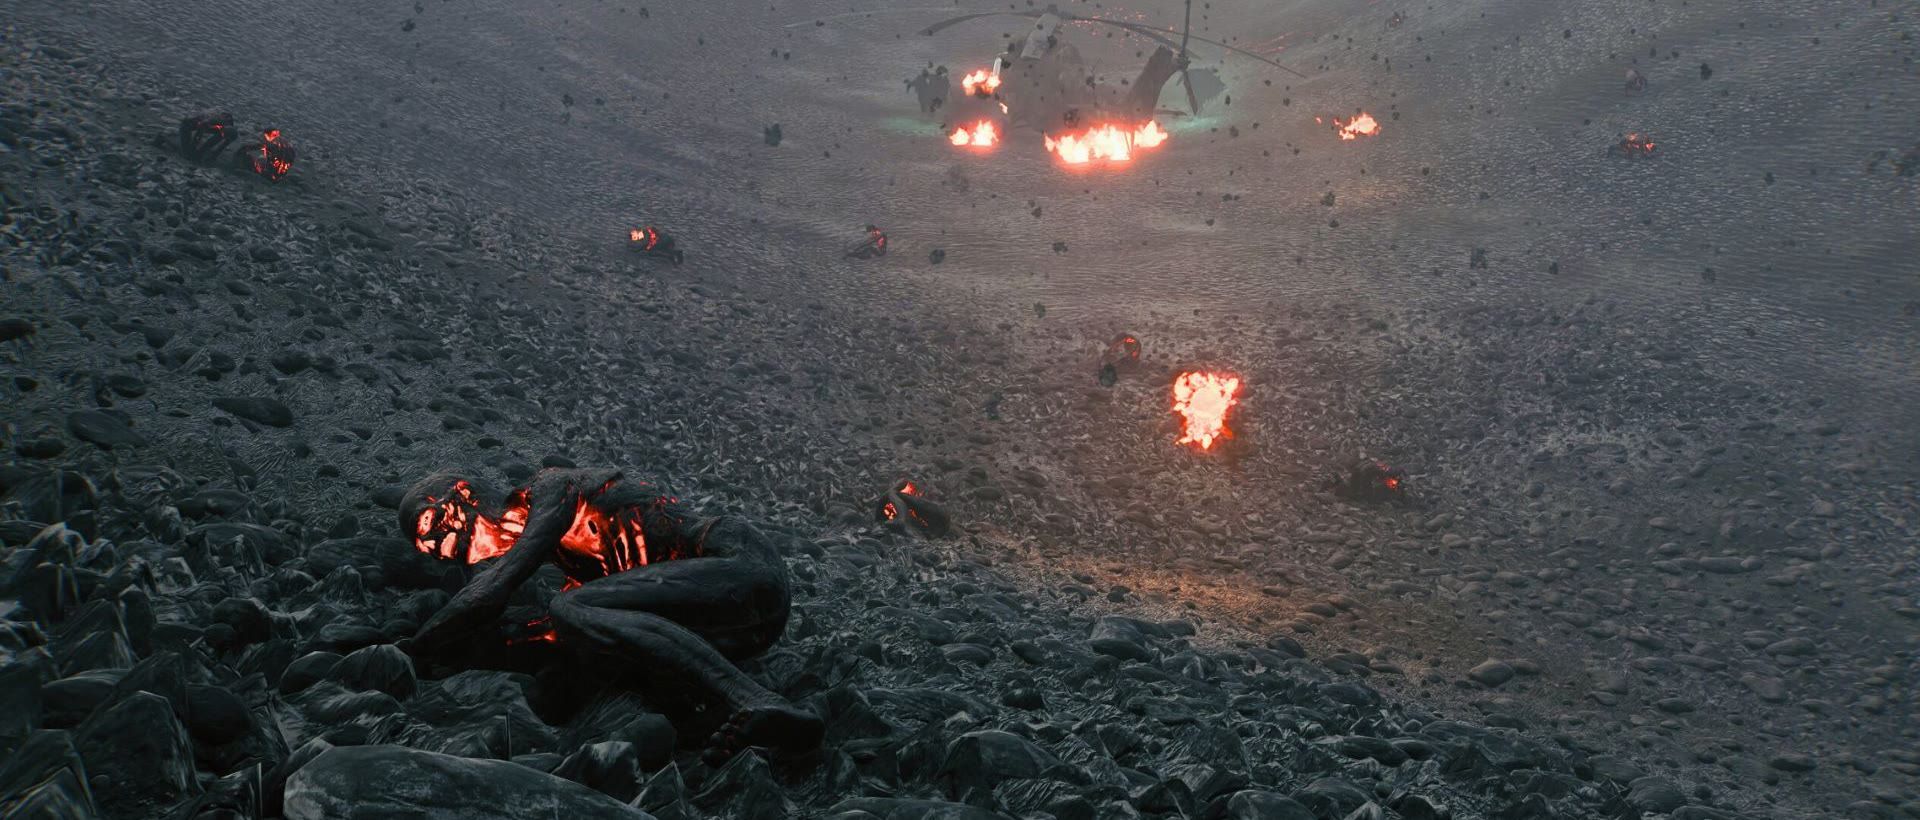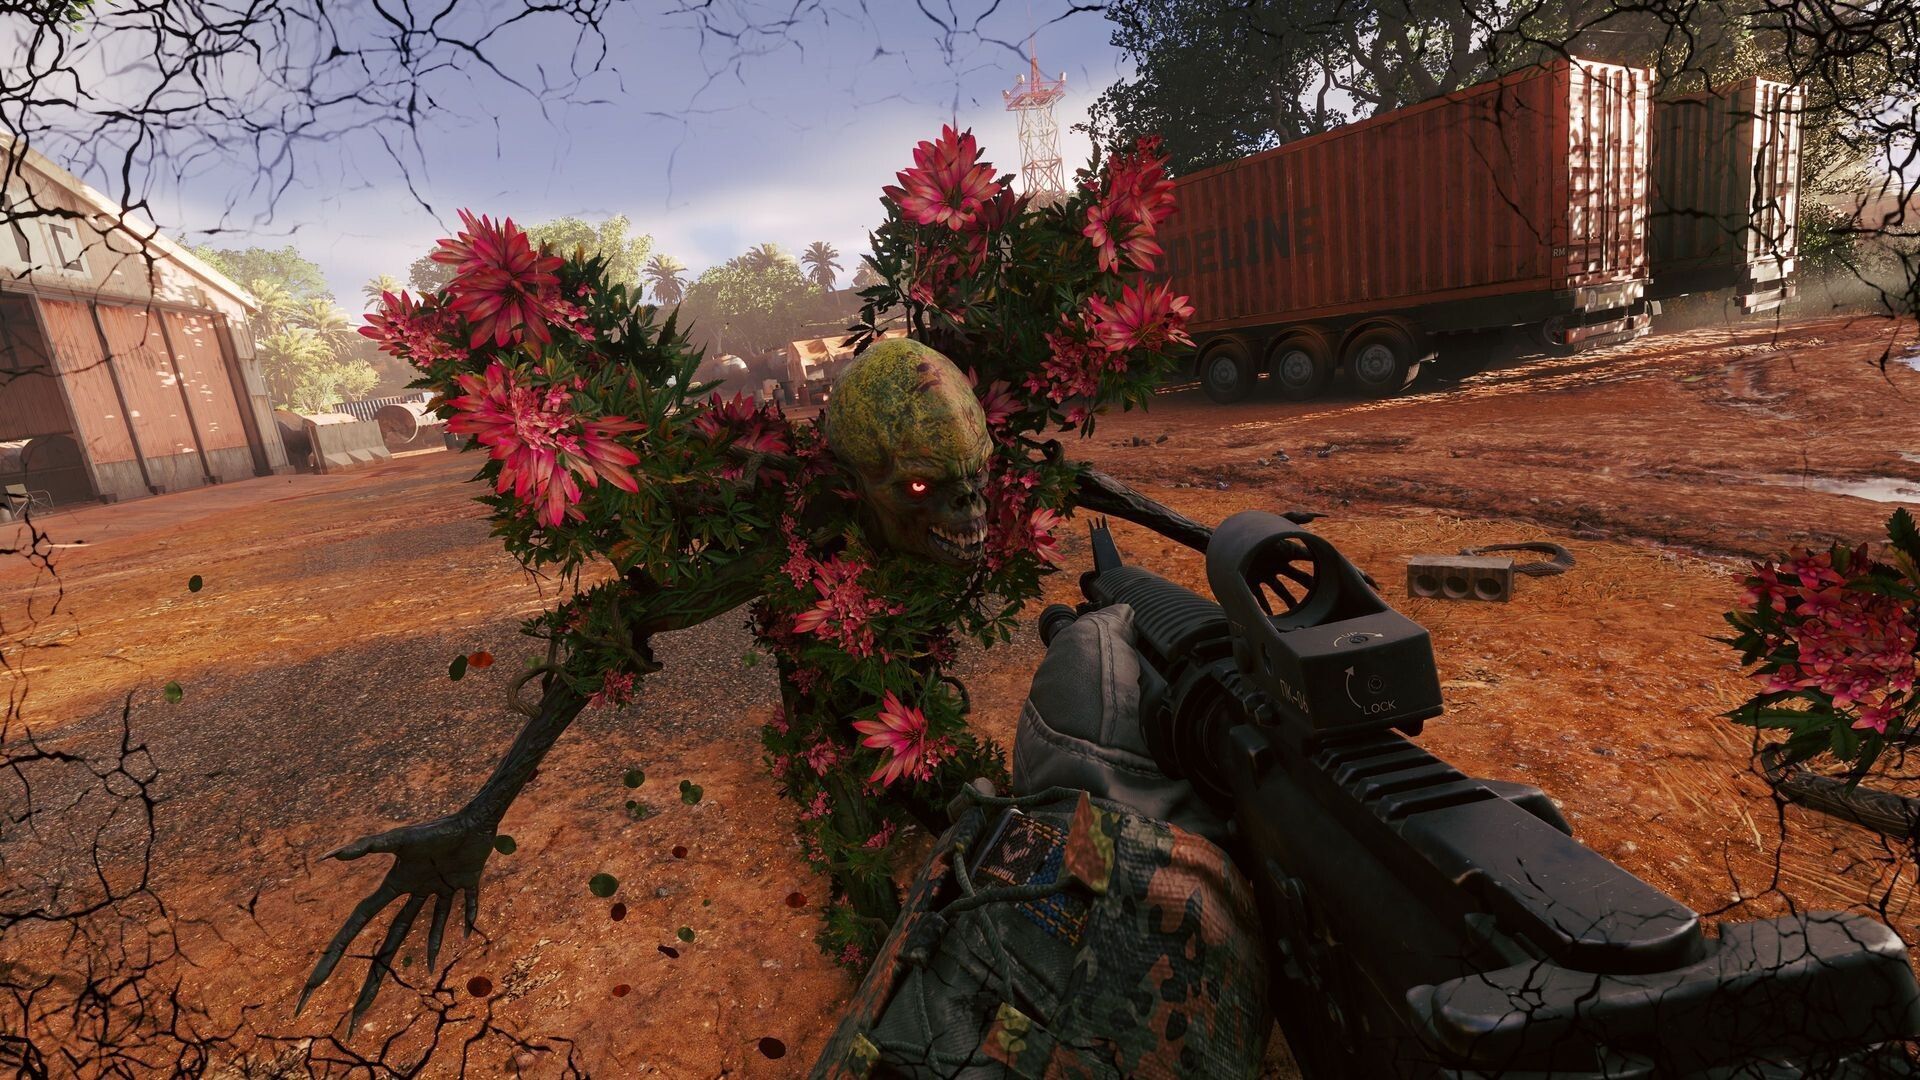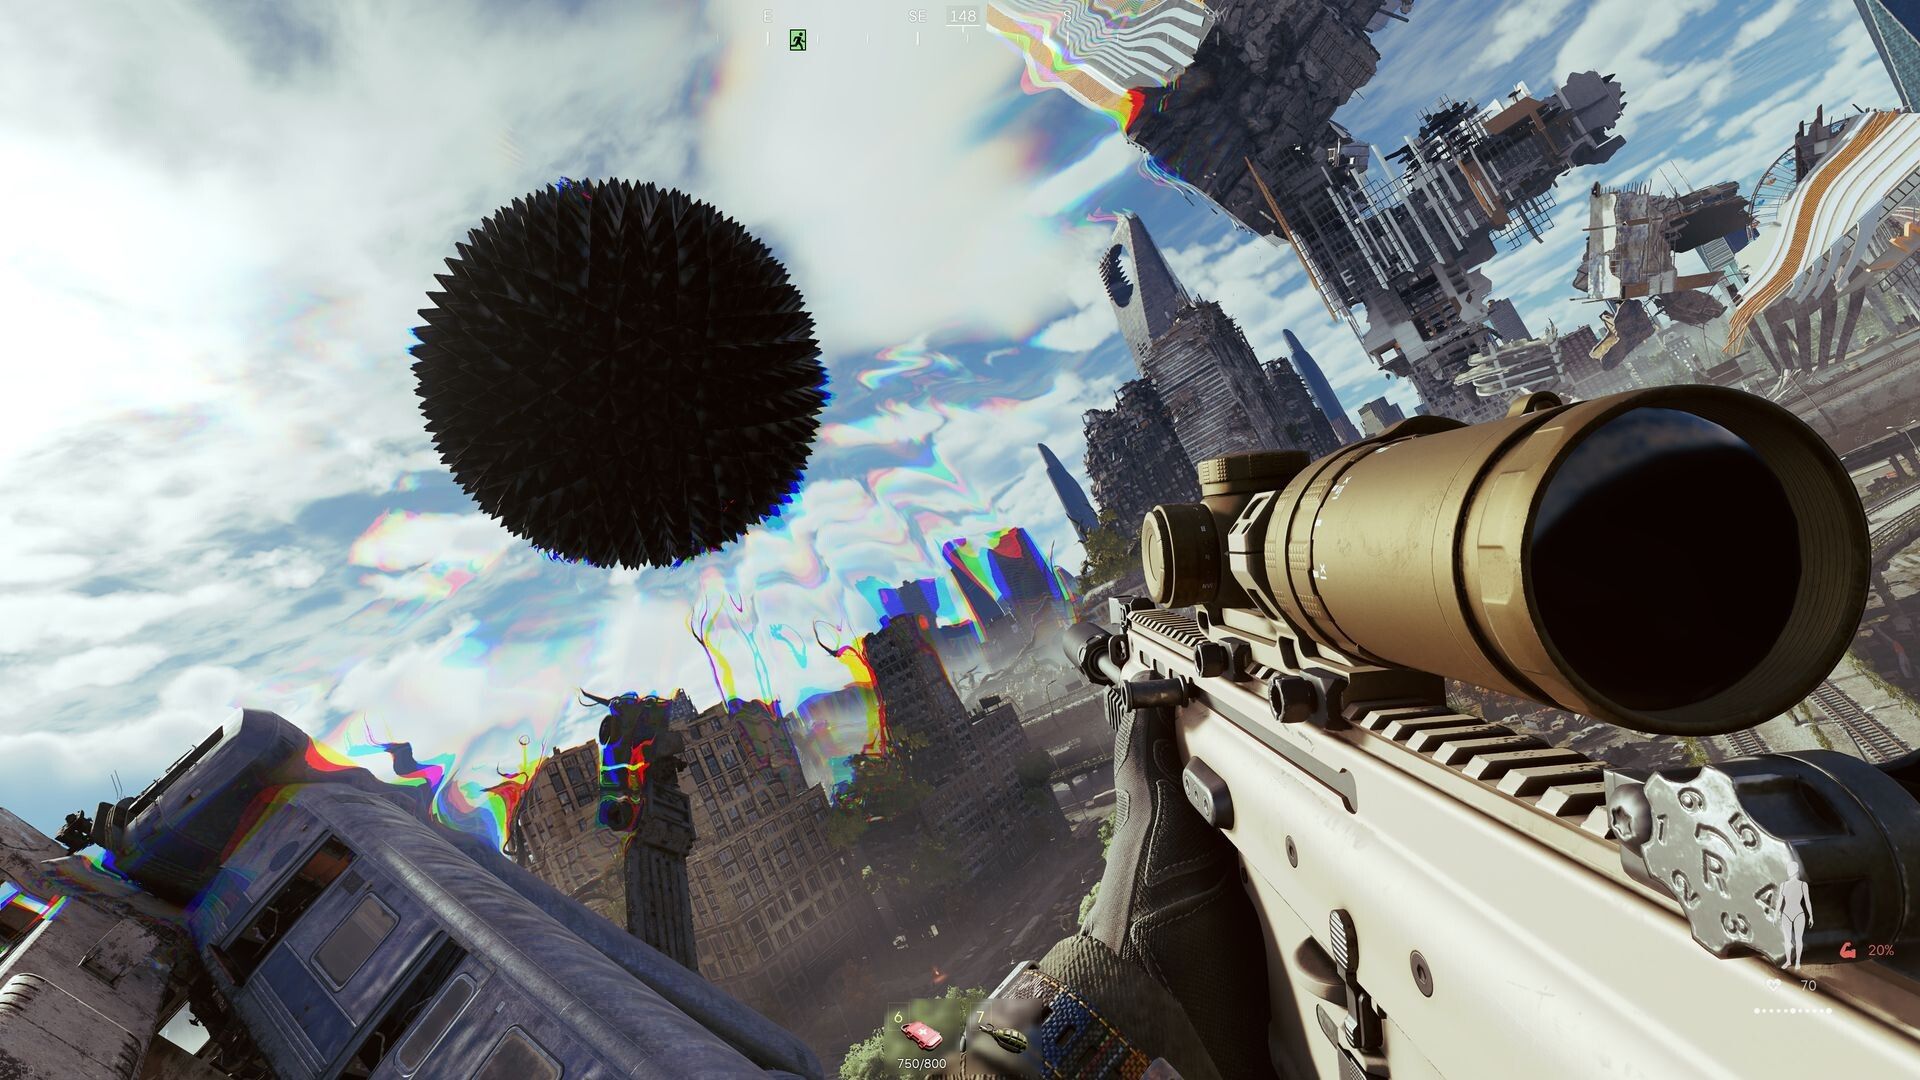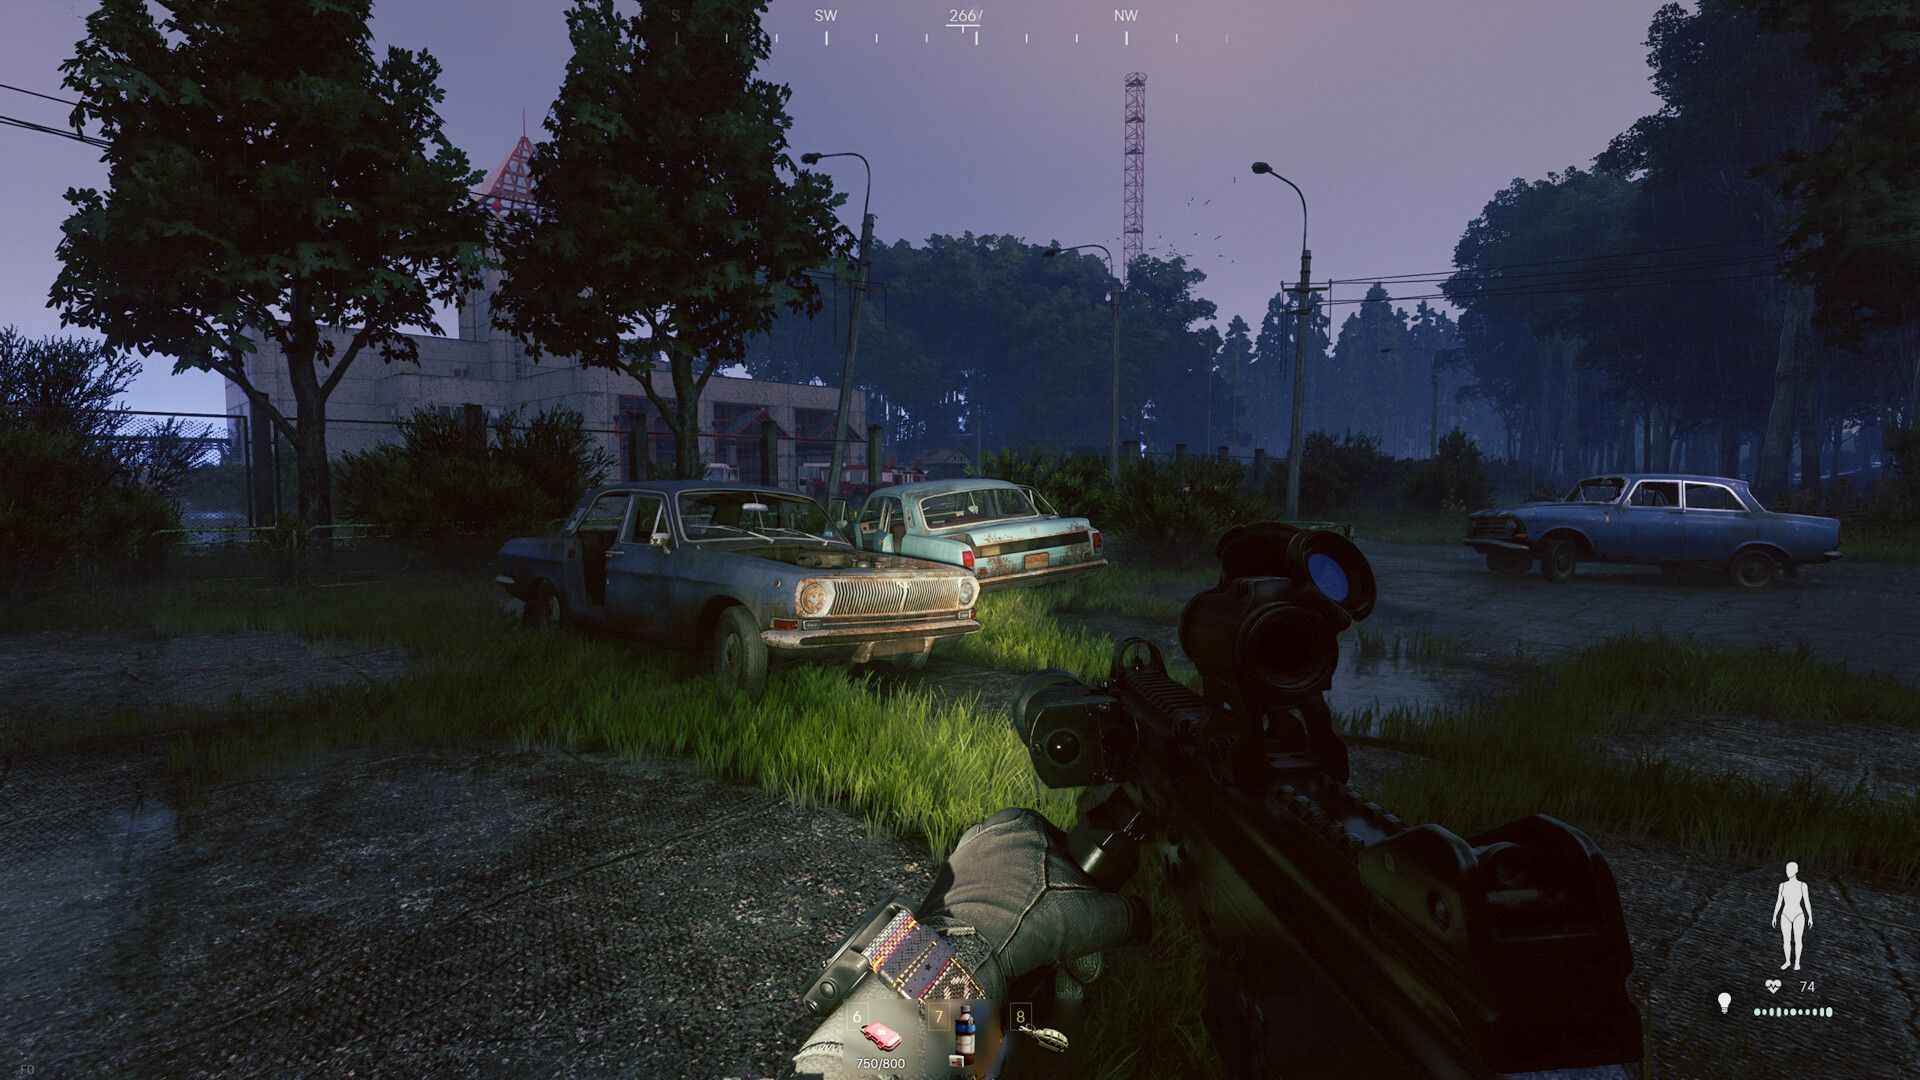
Active Matter is Gaijin's squad extraction shooter: you deploy into a zone with what you're wearing, fill your backpack, and get to an extraction point before you die or the timer runs out. Die and everything outside your safe container stays in the zone.
Everything starts in your shelter, and each room is one of the systems below.
Isolated vs Open
Hired Ops and Faction Battles
Matchmaking and Auto-fill
Three regions
Named in-game after their incidents:
Rotation and modifiers
Every entry carries a timer, the whole list rotates on a countdown shown at the top ("Next raids rotation in"), and two or three are always benched under "Temporarily unavailable". If the map you want isn't up, it will be.
Two numbers to read before you deploy
Weather and time of day are shown before you deploy too, and extraction points are marked with a green running figure, so you can plan the exit before you've seen the entrance.
Unlock order
Six health pools
A sleeve is not a skin
Camouflage and headgear are cosmetic and live in a separate Appearance panel. The sleeve underneath sets your plate layout, your base inventory volume and a set of passive modifiers.
The safe container
That last line is the rule nobody documents: the container has a volume, but one item can exceed it, so a single big find fits even when it shouldn't.
Three sizes, all bought with Crystallised Active Matter on the Shop's Special tab:
A Standard Edition account starts with 300 CAM. A Large container and a Beacon (Ȼ50) leaves 50 spare; a Medium, a Beacon and 10,000 Credits (Ȼ100) leaves the same. Either way the container is the first purchase, because it's the only thing that turns a bad raid from "lost everything" into "lost an hour".
Gear sets: what a life costs
That is what a life costs in the starter tier, and it's the number to keep in your head when deciding whether to push one more building.
Or skip that number altogether while you learn: pick Rented equipment at the Loadout check and you deploy in borrowed kit. Die and you lose nothing of your own; extract and you keep what you found.
Chronogene charges
Launch-build prices
From the Shop, in Credits (₳):
What Alpha's ₳10,000 buys
The 250 Shades of Liberty guns sit at five to twenty times the starter prices and behind nodes you can't buy yet, so "should I save for the DP-12" answers itself for the first week.
Volume, and the tooltip that tells you what things are worth
Weapons take mods in a dedicated modding view: stocks, grips, mounts, optics, suppressors and muzzle devices, each with its own weight, volume and effect. Attachments can be Monolith-locked too, so a rifle's full build is a mid-term project, not a day-one one.
Four wallet icons in the top bar, left to right:
How a level is laid out
What Alpha and Beta give you
The gates are extractions
The ladder makes you get out alive from named maps, one of them in a different region, before it opens the next tier. Nothing in the Shop or the CAM exchange skips that. You don't have to buy every node on a level to move up; climb for the access and come back for the nodes you want.
Objectives
Two objective systems run at once.
Both pay Credits and Tokens.
Cases
The terminal filters cases by the raid you're about to deploy to, so check it before every deploy and take the ones you can progress.
Refiner
Replicator
Enriched items are the ones that came out of the zone changed; carry them home, and the Replicator learns them. Module slots are limited early on, with the rest locked, so expect to run one or two jobs at a time.
Slots and tiers
Where it adds up
Treat every anomaly as a route problem, not a fight, and treat everything that moves in an Open raid as a squad until proven otherwise.
Extraction points are the green running figure on the pre-deploy map, and every raid has a timer. Isolated raids are where you learn that the extraction is on the far side of the zone from where you spawned, and that the last five minutes are where most people die.
Rules of thumb that hold on every map: